How to run Ghost in Kubernetes
Running a Ghost blog inside Kubernetes hosted on Digital Ocean is quite simple and cheap.

Running a modern blogging platform in state of the art infrastructure can be easy (and cheap).
For the first post of this blog it seemed fit to talk about how it is hosted and share how you can deploy a Ghost blog running in Kubernetes. If you setup a (very) small cluster the total cost comes up to around $15 dollars a month (including Load Balancing, Storage Volumes, and TLS/SSL).
Since Ghost is so light you can run other apps in the same cluster. If you are already using another cloud provider to run Kubernetes, the steps described below will mostly be the same.
Assuming you know a little of what containers and orchestrators are, in this case Docker and Kubernetes, I will skip most of the basic concepts. If you have no idea what these mean, Kubernetes Basics docs are a good place to start.
Create your cluster and configure kubectl
The cheapest alternative I've found for running Kubernetes in a battle-tested and reliable public cloud is Digital Ocean. Their managed Kubernetes service works just like EKS, AKS, or GKE, and compared to those, a single node cluster with no Load Balancers or Volumes can be as cheap as $5 dollars a month instead of $30 to $50 for the other providers. The service is still in a closed beta but you can request access here.
In your dashboard, create a new cluster with the desired parameters.
Once your cluster is ready, the next step is to configure kubectl. If you don't have it installed, now is the time to do that, instuctions can be found here.
You can download the cluster's config from your dashboard and it should go into ~/.kube/config. The instructions provided by Digital Ocean can be found here.
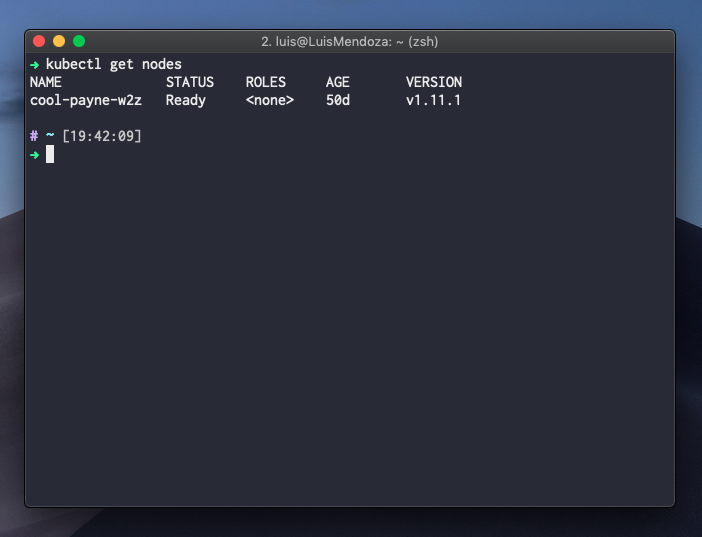
Once you have configured kubectl correctly, test that your cluster works by running kubectl get nodes. This should return a list of the nodes registered in your cluster.
Getting a Ghost docker image
To run Ghost inside Kubernetes we will need a Docker image. Luckily, there is an official image which we can use as the base for our deployment. This image can also be extended or modified to suit your needs.
To test the image locally we can use docker, make sure you have installed docker in your computer and run:
docker run --rm -p 2368:2368 ghost:2.6-alpine
This will pull the image from the docker registry and create a container locally. The --rm flag will delete the container once we exit the command and the -p flag will tell docker to map the container's port 2368 to our machine's port 2368.
Note that we are using the 2.6-alpine tag of the image. This will allow us to build the smallest container possible. Alpine is a super light-weight Linux distribution, but there are other base operating systems available for the ghost image.
Our blog should be visible in localhost:2368.
Creating a Deployment
Now that we have our image we are ready to create a Deployment. This will create our container inside a pod, the base workload for running containers inside Kubernetes.
Our Deployment will also ensure that if our pods die a new one will be spinned up, always maintaining the Deployment's specifications.
Start by creating a deployment.yaml file which will describe our pod and how it should be created.
apiVersion: apps/v1beta1
kind: Deployment
metadata:
  name: blog
  labels:
    app: blog
spec:
  replicas: 1
  selector:
    matchLabels:
      app: blog
  template:
    metadata:
      labels:
        app: blog
    spec:
      containers:
      - name: blog
        image: ghost:2.6-alpine
        imagePullPolicy: Always
        ports:
        - containerPort: 2368
        env:
        - name: url
          value: http://my-blog.com
And apply the definition with:
kubectl apply -f deployment.yaml
This will create the deployment and start our pods. In a few moments we should have the new resources created. We can list our pods with kubectl get pods and also view our deployment and its status with kubectl get deploy.
Note that our container has no place to permanently store the /content data required for Ghost's SQLite database, we will fix that in a few moments.
By now, our pod should be running inside our cluster. Unfortunately, we have no way of seeing it. To check that our blog is working we can use kubectl port-forward to map a port on our machine to ports exposed by our containers.
To do this we need to find the pod's name using kubectl get pods and run the following command:
kubectl port-forward <pod-name> 2368
Just like before, our blog should be visible in localhost:2368, but this time it will be running in Kubernetes instead of our own machine.
Creating a Service
To permanently expose our blog to the world we will use the Service resource. Our Service will create a permanent IP inside our cluster and redirect traffic received through it to a group of pods. We can also create an external IP to access the Service from outside our cluster.
In a new service.yaml file add the following definition:
apiVersion: v1
kind: Service
metadata:
  name: blog
spec:
  type: LoadBalancer
  selector:
    app: blog
  ports:
  - protocol: TCP
    port: 80
    targetPort: 2368
The selector: app: blog will redirect traffic received by the service into pods that match the given labels (same label used in our Deployment). The type: LoadBalancer will tell Kubernetes that this is a public service, causing our cluster to request and automatically attach a Load Balancer to our machines.
The definition can be applied to our cluster with:
kubectl apply -f service.yaml
In a few minutes we should be able to view the Service's EXTERNAL-IP using the command kubectl get svc. If we visit this IP in our browser we should be getting our blog.
Creating a volume for permanent storage
Containers and pods are ephemeral, meaning when they stop running the information stored in them is lost. This is one of the main sources of headaches for running applications in containers. Stateless applications should not be an issue, but unfortunately our blog requires a place to persist data.
Volumes are the easiest way to store data from a container in a long-term and secure fashion. Our pods can request volumes. These will be automatically linked to the machine where our pods live. To do this Kubernetes provides the PersistentVolumeClaim resource.
We will create a new volume.yaml and fill it with the following:
apiVersion: v1
kind: PersistentVolumeClaim
metadata:
  name: blog-content
spec:
  accessModes:
  - ReadWriteOnce
  resources:
    requests:
      storage: 5Gi
  storageClassName: do-block-storage
Just like before, we can apply the definition:
kubectl apply -f volume.yaml
Now, we should update our deployment to have our pod use the created volume. By adding the following to our deployment.yaml we can update our container definition:
      containers:
        ...
        volumeMounts:
        - mountPath: /var/lib/ghost/content
          name: content
      volumes:
      - name: content
        persistentVolumeClaim:
          claimName: blog-content
This will link our Volume Claim to our container and mount it in the /var/lib/ghost/content directory.
As always, we should apply the definition, this time updating our existing resources:
kubectl apply -f deployment.yaml
Our instance of Ghost is almost ready for prime time. All that is left is to setup our DNS to point the A record to the EXTERNAL-IP we created. If you are using Digital Ocean's DNS, setting up SSL certificates for free using Let's Encrypt should be super simple, instructions can be found here.
That's it! Happy blogging...